Many quilters have turned their sewing efforts away from large bed-sized quilts to smaller display pieces. Quilt shows now have "small quilt" categories that encourage curious makers to explore themes and techniques without taking on the commitment of a full-sized quilt. Small quilts (projects with a total perimeter of under 119") are also the perfect size for quilt swaps between makers far and wide.
But what's the best way to display your wall quilt once it's finished? Wall hanging pockets!
This simple technique takes little time to accomplish and just a couple of fabric squares to do. Follow the step-by-step photo tutorial featuring Ships & Violins' Autumn Leaves pattern below to learn how.

Supplies
You'll be able to complete this tutorial with items you have in your sewing studio.
- Two 5" squares of fabric
- Ormkraft cutting mat
- Ormkraft rotary cutter and blade
- Oliso Smart Iron
- Pressing mat
- Sewing machine and thread
- Pins
How to Sew Wall Hanging Pockets: A Step-by-Step Tutorial
Step 1: Cut Your Pocket Squares
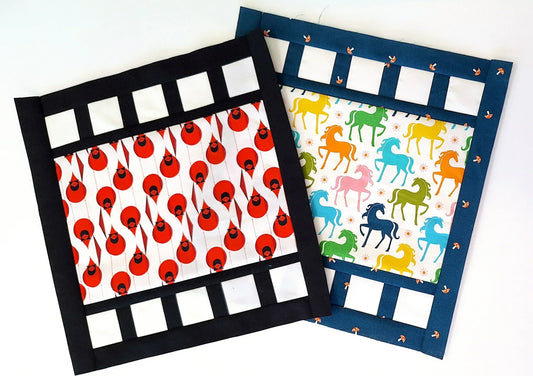
Cut (2) 5" x 5" squares from a fabric that matches the backing fabric you used for your project or a remnant fabric of your choice. You can also sew scraps of fabric together and trim the piece into 5" squares for a custom look (as shown in the first image above).

Step 2: Fold and Press Squares into Triangles
Fold both squares in half diagonally, wrong sides together, and press with a hot iron. You will have two triangles or "pockets."


Step 3: Pin Your Pocket Triangles
Pin (1) triangle to the upper-right corner of your wall hanging or quilt so that the raw edges of the triangle are matched with the raw edges of your project. The folded edge of the triangle should be facing the centre of the wall hanging. Pin the remaining triangle to the upper-left corner similarly.

Step 4: Attach the Pockets
Using a 1/8" seam allowance, sew along both raw edges of the triangles to secure them to your wall hanging. It's important to sew with an accurate 1/8" allowance so that the stitches are hidden by the 1/4" seam allowance used to attach the binding. You can use a regular 2.5mm stitch length or a basting stitch.


Step 5: Attach Binding to Wall Hanging
Use you preferred method to attach your binding to the wall hanging. In this case, I machine-sewed the binding the the front of the quilt and will hand stitch the binding to the back of the quilt.
The image below shows the 1/4" seam allowance used for attaching the binding, and the 1/8" seam allowance used for attaching the pockets.

When the binding is folded over the raw edge of the wall hanging, the 1/4" and 1/8" seam allowance stitches will be hidden.

Step 6: Hang It Up!
Install a hooked command strip or nail where you would like to display your wall hanging (install two if you would like your piece to be more stable). Measure the width of your wall hanging and cut a wooden dowel to size. Slip the dowel into both wall hanging pockets, hang your project, and enjoy the view!
In this blog:
- Pattern: Autumn Leaves by Ships & Violins
- Backing fabric: New Flame in Sweetly by Anna Maria Horner for Free Spirit Fabrics
- Binding fabric: Dots in Gold by Holli Zillinger for Figo Fabrics
- Thread: Aurifil 50wt in Dove
This post contains affiliate links, meaning, at no additional cost to you, if you click through and make a purchase, I may receive a commission.