
Are you an intermediate quilter looking to take on a new and unconventional project? Or did you fall in love with The Badlands quilt design, but get a little overwhelmed with the pattern instructions? I get it; it can seem a little daunting. But you’re up for a challenge, right?
If you’re a trail blazing quilter who’s ready to venture beyond fields of HSTs and into some new terrain, I’ve compiled a short list of tips and resources to prepare you for your journey.
Pattern Access: If you're an MQG member, you can access the free pattern in Issue 006 of MQG's Modern Monthly E-zine. If you’re not a member, you can join here.
Tip One: Peel & Stick
Staying organized is key when making patterns with a long list of cutting instructions. On page 20 of the PDF pattern, you'll find printable labels to help you organize like a pro. Each label contains the following: Block or Template Code and the number of strips or templates required from each fabric.


You can print this page on copy paper and pin/tape the labels to your fabric pieces as you go. Or - this one is a game-changer - you can print them on a full sheet of self-adhesive paper available on Amazon or at your local office supply store. (All Ships & Violins patterns come with printable labels; the purchase will be worth the investment.)

This tip will save you time by eliminating pinning and writing while in the midst of cutting. It’s also a great way to confirm your cut pieces before assembling. Just peel and stick – that’s it.
Tip Two: Read the Pattern & Pick Your Path
Read the pattern through BEFORE beginning (this is an underrated tip, but I assure you it’s always worth it). The Badlands quilt is constructed in three sections; you’re able to complete one section before moving to the next. For those of you who like mid-project validation, this is probably a good way to go.
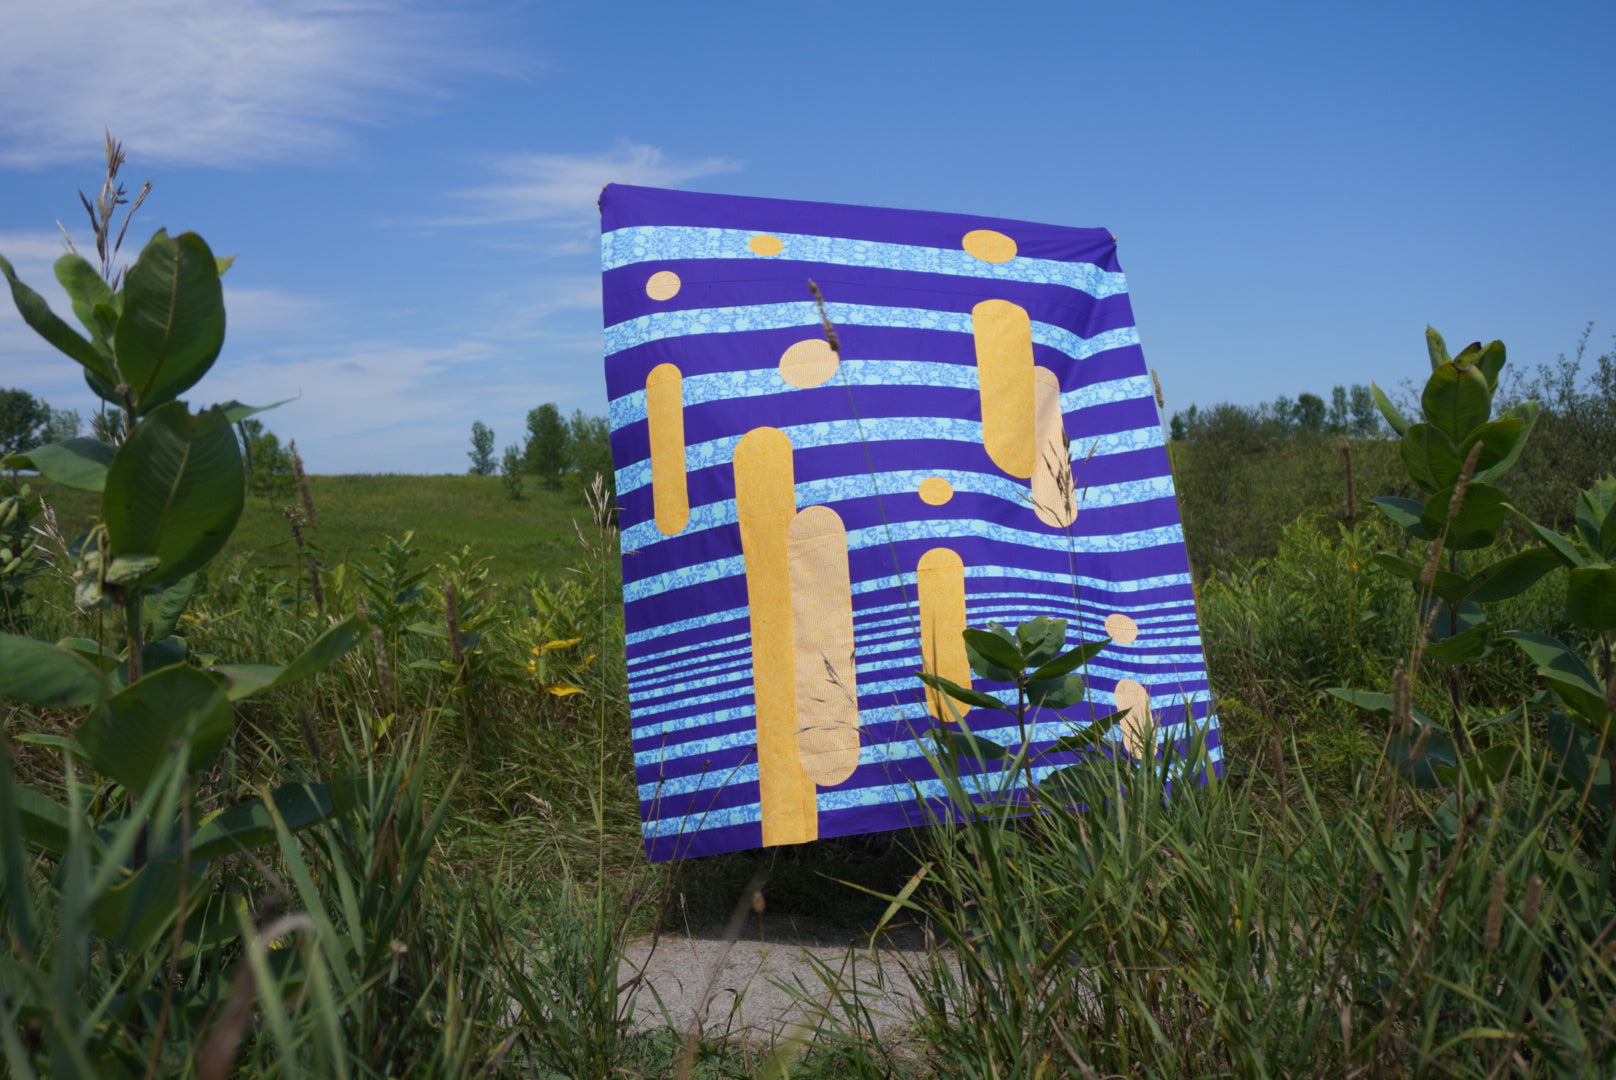
That being said, when I began to sew my Tula Pink version, I took a different approach. I decided to complete all the strip sets for sections 1 through 3, then cut out all my arch templates, and finally, sew all my curves at once. This approach worked into my schedule and allowed me to get into a workflow when time was of the essence.

Do you sew your quilts block-by-block, or do you prefer to complete an entire task before moving forward?
Read the pattern and decide how you’d like to tackle it. It won’t seem as daunting if you have a plan you’re comfortable with.
Tip Three: Test Your 1/4in Seam Allowance
This is a pretty standard tip, and should be completed each time we begin a new project. I’ve added it here because an accurate seam allowance is crucial when strip piecing. If you have yet to venture into strip piecing there are tons of helpful resources on the web to guide you.
I want to stress two tips in particular: 1) lift your iron when pressing seams, don’t glide it; 2) confirm that the strip set measures correctly after adding a new strip. For example, if you sew a 1 1/4in strip to a 2 1/2in strip your strip set should measure 2 1/4in. Do this every time you add a strip, and you won’t find yourself short at the end.
Here are a couple of strip piecing resources I’ve found helpful:
Tip Four: Trimming Strip Sets
While working on the prototype I came across an interesting scenario: when sewing strip sets of 6 or more strips, the edges of the block became wonky. This made my seam allowances uneven and compromised the overall construction - a big no-no.
I took this lesson learned and incorporated a margin of error by adding a 1/2in to strips in four of the larger strip sets. (The largest strip set in the pattern comprises of 23 strips!) Once you’ve sewn your strip set together, step 16 of the pattern provides the trimming measurements.
This adjustment will help you achieve a straight edge, accurate allowances, and reduce sewing stress.
Tip Five: Practice Your A’s and B’s
Alright, so here’s the real reason the pattern's skill level is listed as Advanced: small curves are tricky. BUT that shouldn’t stop you from trying. With free access to the pattern, you can give the curved piecing a try with zero financial commitment. Grab yourself some scraps, print the template pages, and practice sewing the two smallest curves (A and B).

Despite having sewn dozens of curves, I still find it helpful to practice before working on the final project. Let’s call it a sewing warm-up.
Once you’ve warmed up and are ready to work on the real deal, ensure that you don't warp your strips by pulling and tugging them as you sew. There won’t be an opportunity to trim because you'll be sewing into your final piece. Take your time and carefully guide your fabric as you sew. Feel free to stop and readjust as many times as you need.
If you're comfortable with sewing the small semi circles, you’ll be pleasantly surprised at how easy it is to sew the larger ones.
How do you feel? Ready to take the project on? Just remember, you've got this. If I can do it, you most certainly can too.
Share your version on Instagram by using #thebadlandsquilt or join the "Ships & Violins Quilt Patterns" Facebook Group and share with the SAV community!
