In this tutorial you'll learn how to english paper piece hexagons together into a flower design. It's simpler than you think, and it's likely you'll want to make more than one once you start!
Supplies
You'll be able to complete this tutorial with items you have in your sewing studio.
- Fabrics (scraps welcome!)
- Cardstock
- Templates
- Glue stick or glue pen
- Paper scissors
- Fabric scissors
- Pen or other marking tool
- Needle and thimble
- 50wt or 80wt thread
- Sew Fine Thread Gloss (optional)
How to English Paper Piece Hexagons: A Photo Tutorial
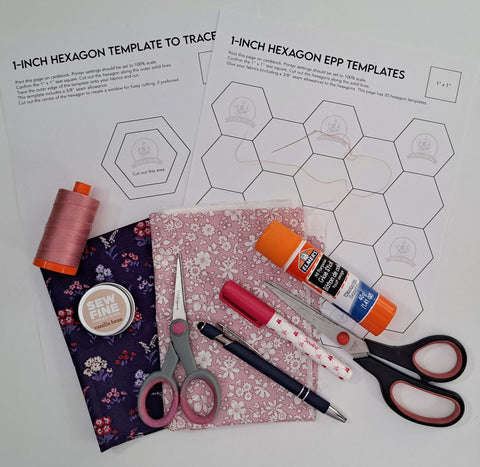
Step 1: Print Your Templates
You will require two template sizes to begin your EPP journey. You can purchase the printable templates here. The first is a 1” hexagon that you will glue your fabrics too, and the second is a 1” hexagon with a 3/8” seam allowance that you will use to cut out your fabrics.
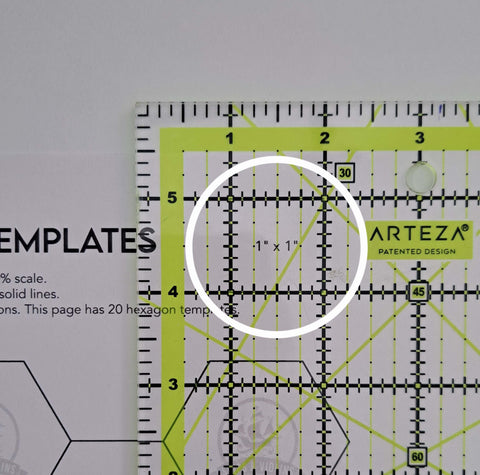
Print out both pages on cardstock at 100% scale. Using cardstock is a must.
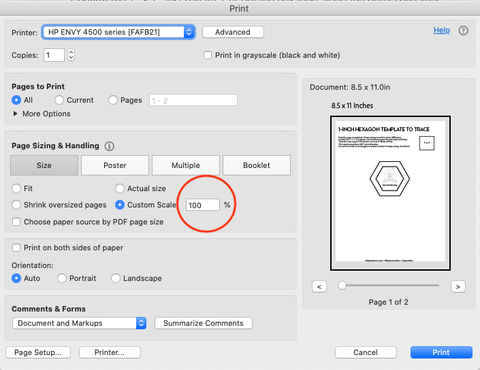
Confirm that the 1” x 1” square measures correctly.
Then cut out your 1” hexagons along the outer borders and store them in a safe place. You will likely print more of these as your project grows, or you can purchase kits of pre-cut hexagons if you’d prefer.
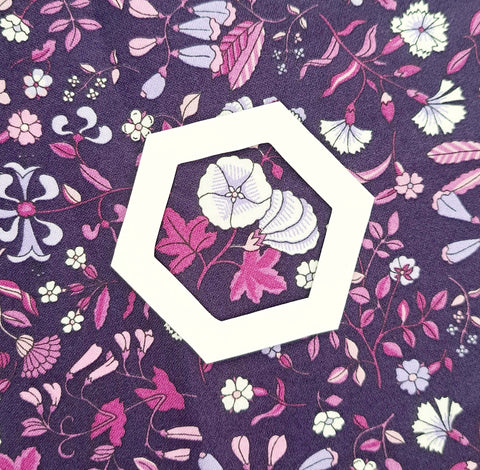
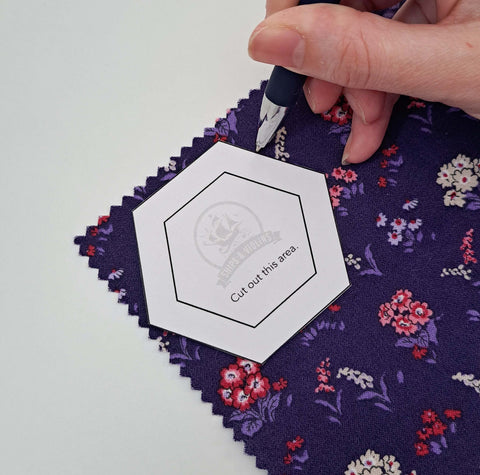
Next, cut out your 1” hexagon to trace along the outer border. If you’d like to experiment with fussy cutting, you can cut out the centre area of the template to create a window to help audition fabrics and visualize the final result.
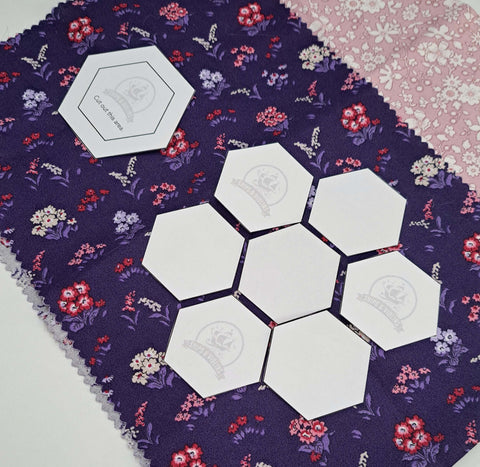
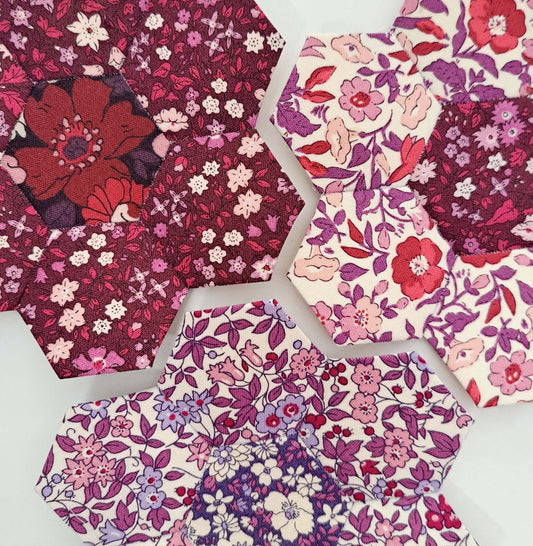
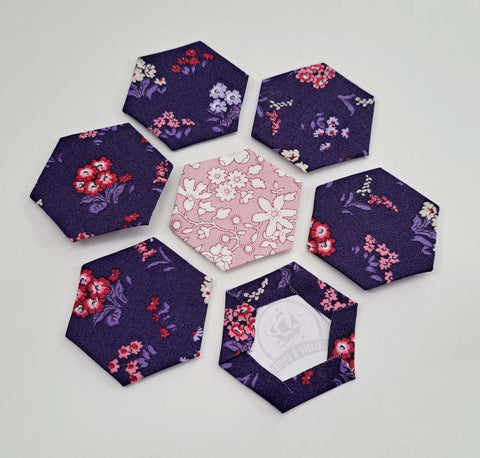
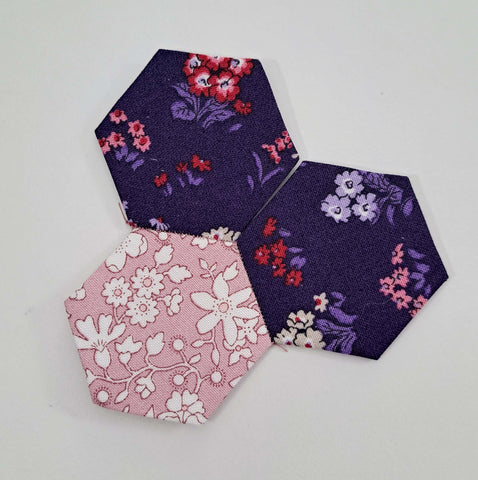
Step 2: Choose Your Fabrics
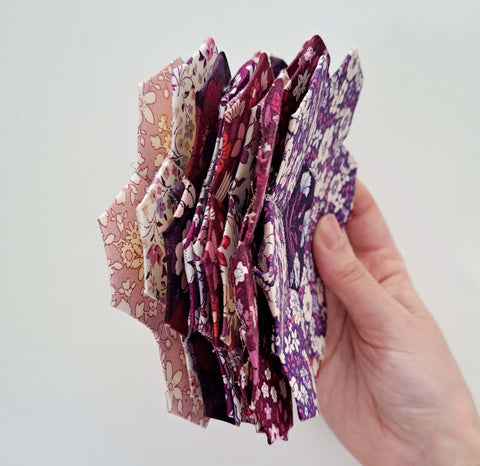
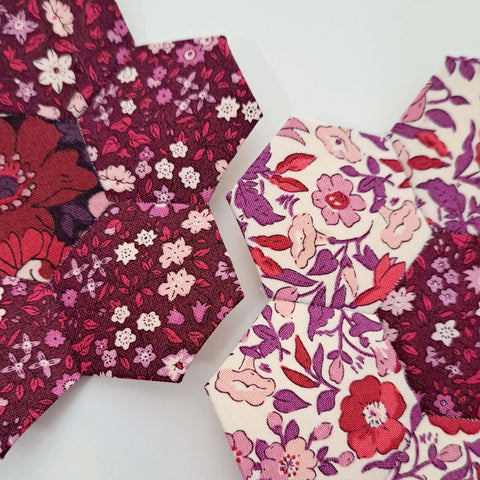
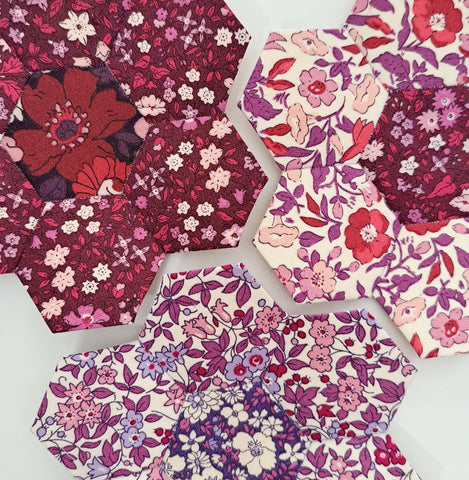
Quilting cottons are a great substrate to begin with. Scour your fabric stash – remnants and scraps too! – for fabrics you’d like to use in your project. Consider the scale of the motifs on any patterned fabrics.
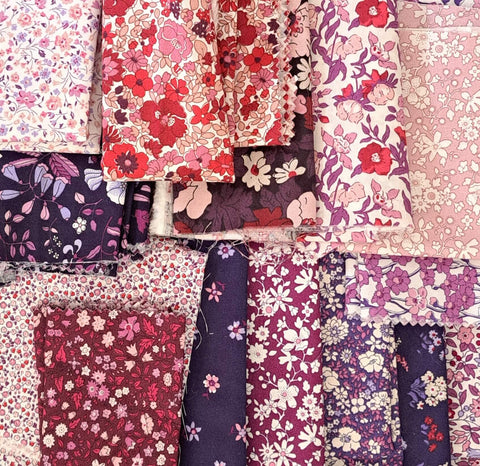
Don’t feel pressured into choosing all of your fabrics before beginning. Start by choosing two fabrics: Fabric A for the outer petals and Fabric B for the centre hexagon. This colour placement will make an effortless hexagon flower.
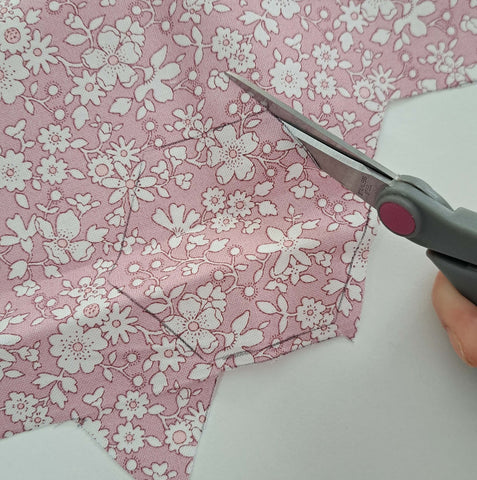
Step 3: Cut Your Fabrics
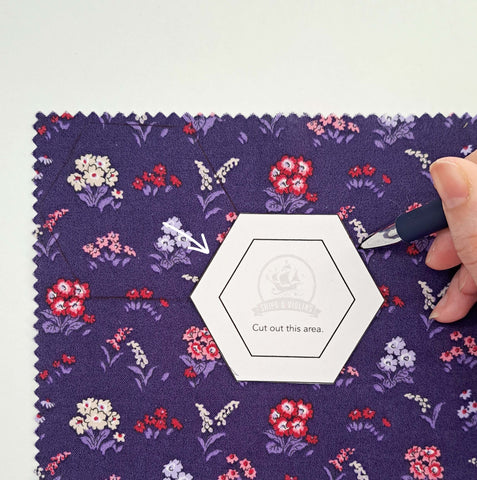
Place the hexagon template with the 3/8” seam allowance on the right side of your Fabric A. Use a marking tool to trace (6) hexagons along the outer edge of the template. Choose any marking tool that is visible on your fabric. Pens work fine.
The most economical way to trace several hexagons onto your fabric is to place them in a staggered formation. The hexagons will share some edges, which will save you time on tracing and cutting too!
Cut along the traced lines using fabric scissors.
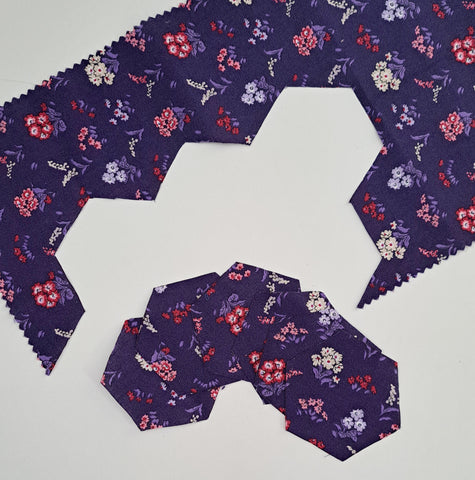
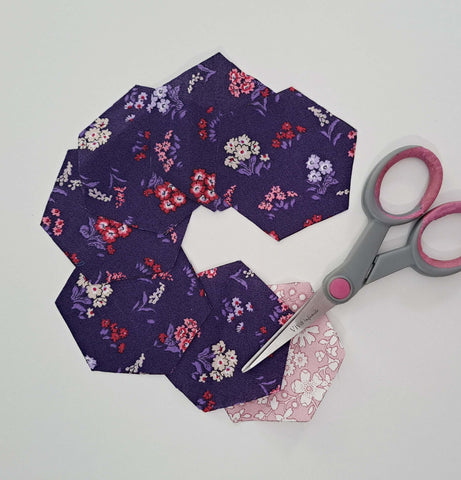
Repeat to cut (1) hexagon from Fabric B. This will be the centre of the EPP flower.
You will now have (7) hexagons total.
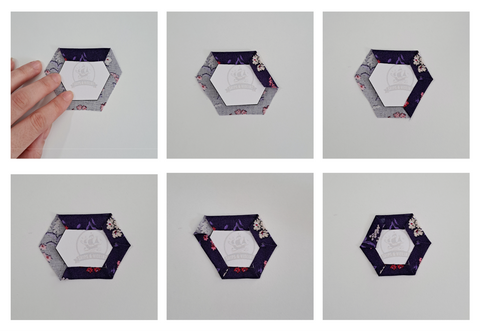
Step 4: Prepare Your Hexagons
Place (1) one-inch hexagon in the centre of your fabric hexagon. The fabric should be wrong side up.
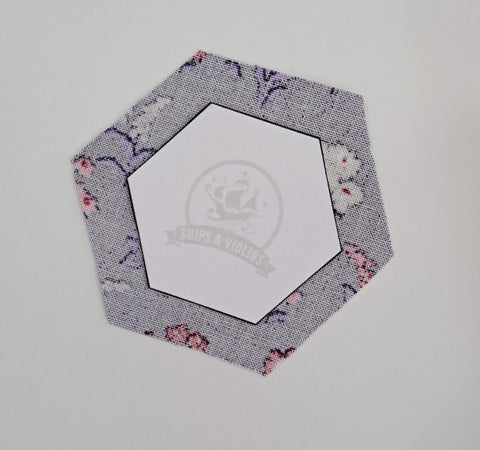
Using a glue stick or glue pen, apply glue along the outer edges of the hexagon template, then fold the seam allowances over the edge one at a time and press to secure. Apply more glue, if needed. You will naturally overlap the fabric as you go. Do this for all (7) hexagons.
Step 5: Sew Two Hexagons Together
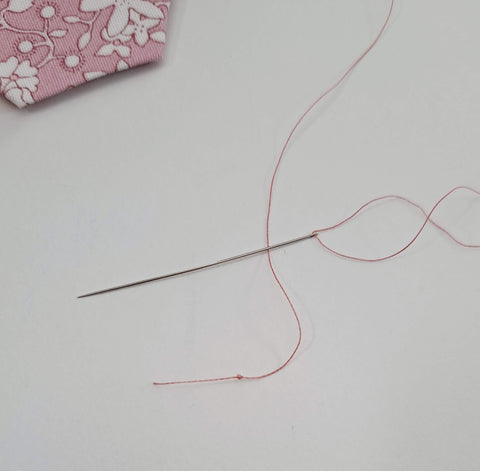
Thread your favourite needle. I'm using 50wt Aurifil thread that matches my centre hexagon for this tutorial. Keep your threads relatively short, say 12" to 18" long, to avoid tangling.
Your needle should be a comfortable length and sharp. I prefer needles that are not too flexible, as they require less effort to puncture the fabrics. (Unfortunately, I don’t know the details of the needle I’m using in this tutorial as it was an inherited notion.)
Tie a knot at the end of your thread.
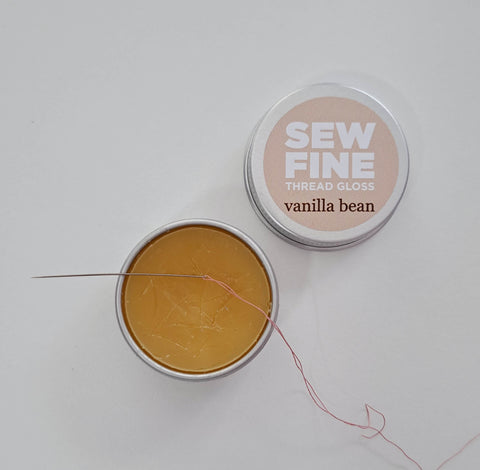
You can choose to condition your thread with beeswax. To do this, place your thread on the conditioner and hold it in place with your thumb. Pull the needle away from you. It will slide along the conditioner and be coated.
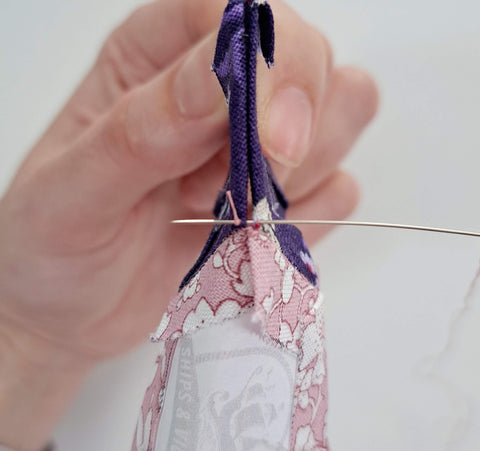
Next, we'll sew one of the outer hexagons (Fabric A) to the centre hexagon (Fabric B). Place the two hexagons right sides together.
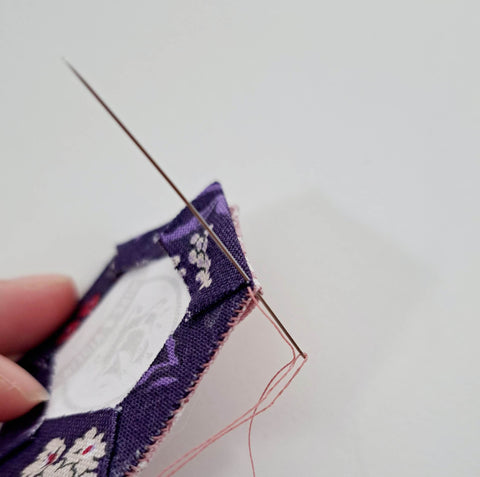
Begin to sew the hexagons together by starting at one end of any one side using a simple whipstitch.
Hold the hexagons steady in place. Ensure that the corners are always matched as you sew. You can treat yourself to Sew Tites, magnets that work like pins to keep EPP pieces together as you sew.
Your first stitch should begin right at the edge of one corner as shown below. Trim your thread tail after the knot if it's too long.
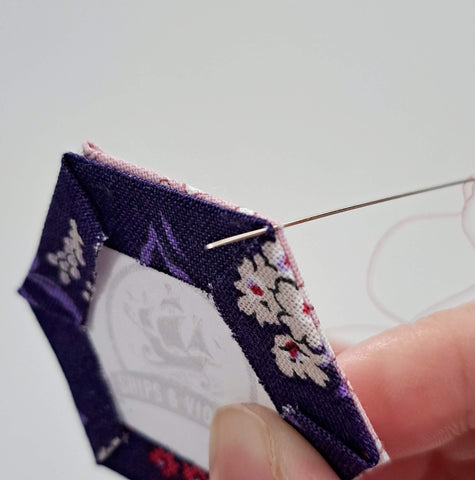
For your second stitch, sew in the same direction as you did the for the initial stitch. I'm right handed so I use my right hand to push the needle through the fabrics, always entering from the hexagon on the right into the hexagon on the left. You only have to catch a couple of threads from each hexagon each time. Small and even stitches is a goal to strive for.
Continue in this way along the entire edge, pulling the thread taut as you go.
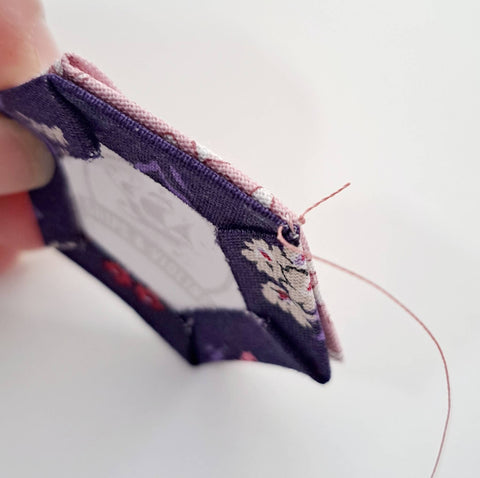
Take your final stitch once you've arrived at your first corner.
Next, tie a knot to secure your stitches. I like to tie my knot loosely first then pull it into position using my needle.
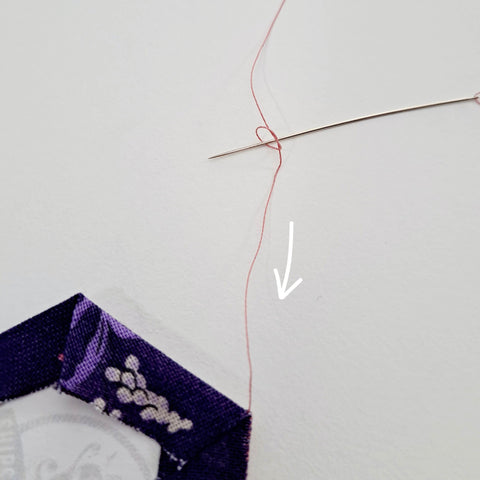

Trim the thread near the knot.

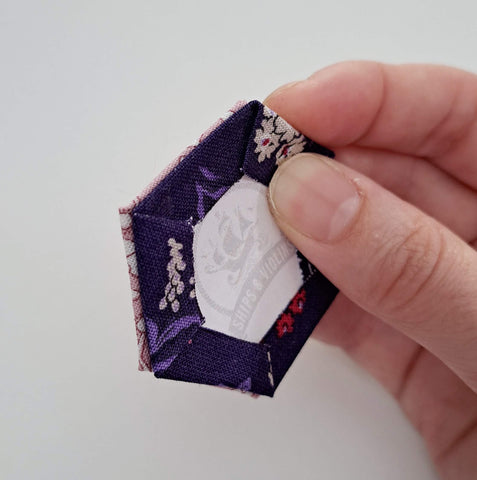
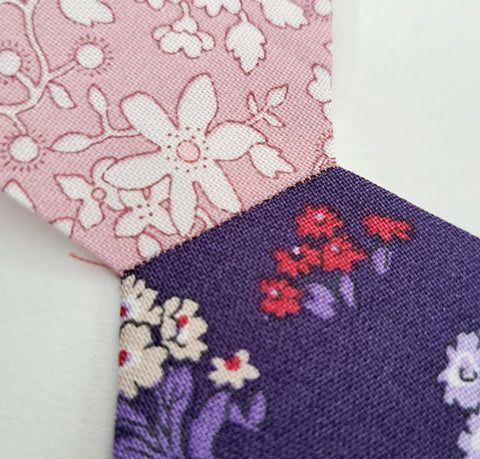
Below is a photo of the right sides of two hexagons once sewn together.
Step 6: Sew a Third Hexagon to the Centre
Thread your needle again, if needed. Repeat step 5 to sew a third Fabric A hexagon to the centre hexagon (Fabric B).

Place the outer hexagon on top of the centre hexagon right sides together.

Begin at one corner and whip stitch your way to the next corner. (Note: At this point the two outer hexagons will not be sewn together.)
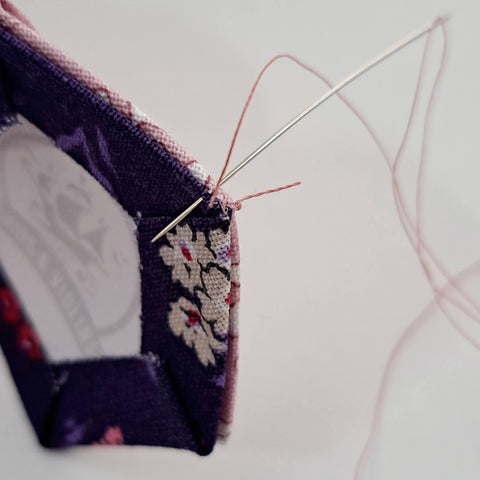
Step 7: Sew Fabric A Hexagons Together Using a Y-Seam
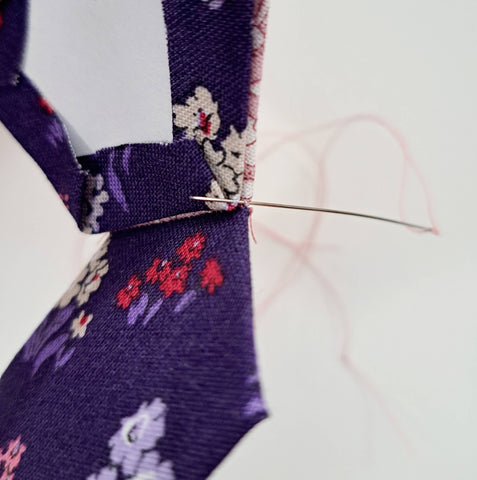
Now, it's time to sew the outer hexagons together. The seam you will be sewing is called a Y-seam, the location where three fabric edges meet.

Lightly curl the centre hexagon, right sides together, so that the two Fabric A edges to be sewn are matched neatly. Do not crease the centre hexagon, just fold it enough so that it's comfortably out of the way.

Begin stitching just as you did in step 5. Your first stitch should begin right at the corner. You should not be stitching into the centre hexagon.
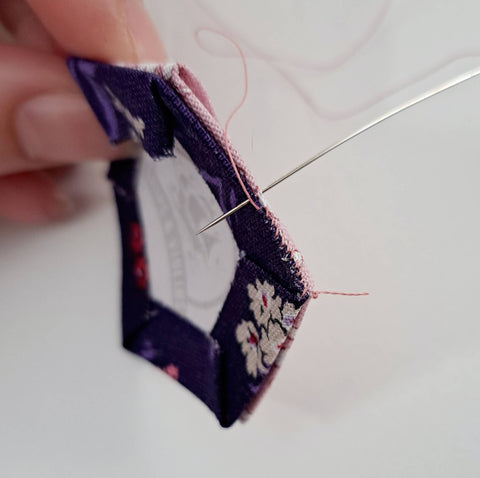
Continue to whip stitch along the entire edge until you arrive at your first corner.
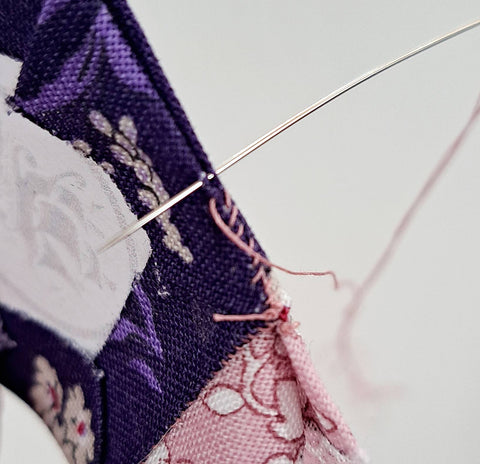
Take your final stitch at the corner and tie a knot. Trim your thread.

Below is a photo of the right sides of the three hexagons now sewn together, followed by a photo of the wrong sides.


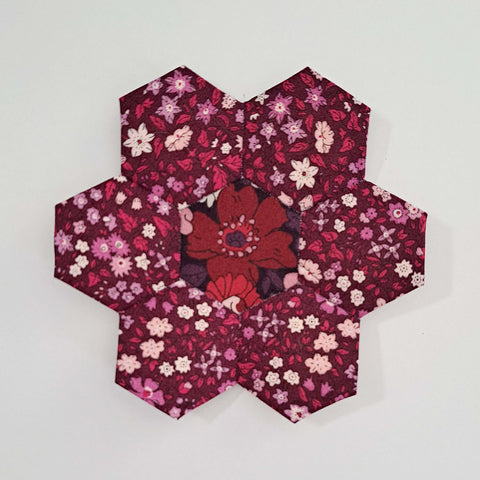
Step 8: Continue Sewing Hexagons Together
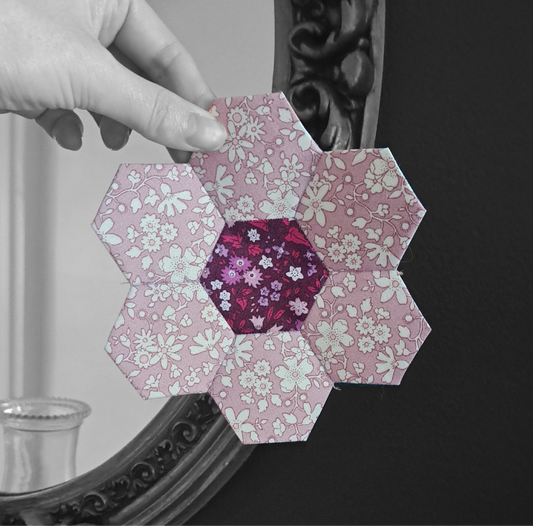
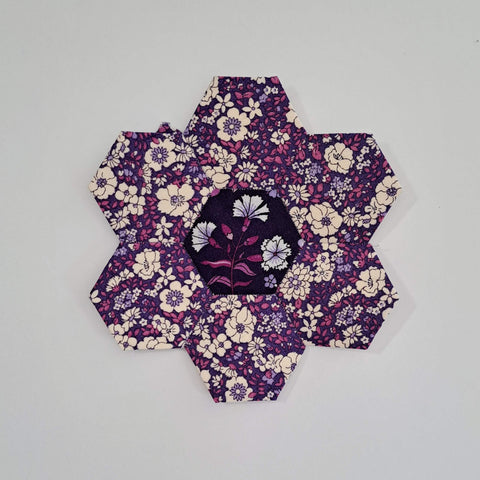
Next, you'll sew another outer hexagon to the centre hexagon, then sew the outer hexagons together. Continue in this way until you've completed your flower. Below are a few example of completed flowers.

The next two have fussy cut centres.
Step 9: Sew EPP Hexagon Flowers Together to Make a Quilt Top
You can make anything you'd like with your english paper pieced flowers. If you would like to sew them together to make a larger project, like a quilt top, just sew the hexagons together as you did in step 7. The hexagons should fit neatly into each other as shown below.
Remove the paper templates from a hexagon once all of its sides have been stitch to another hexagon. As your project grows and you sew more flowers together, you can remove more templates.
Don't want to make a large english paper pieced quilt top? You can remove all the paper templates and appliqué your flower to a garment, tote, or quilt block!
Have you tried english paper piecing before? Do you love it?
Leave a comment below!